It has long been debated among anglers which type of knife is best for filleting fish. Old school anglers often swear by the regular knife and that nothing compares to the precision and control that it offers, with many having been taught the filleting techniques by their fathers and grandfathers.
On the other hand, many people find that there is nothing equal to an electric knife, which offers unrivalled cutting speed, making it especially popular for filleting massive hauls of fish that would take hours to do with a regular knife.
The truth is there is no right or wrong answer. When it comes to filleting your crappie, it’s all down to personal preferences. If you’re comfortable with a regular knife then stick with it, yet anyone that isn’t the most experienced with filleting their catch may benefit from the speed and simple operation of an electric knife.
Of course, you need to use the right filleting technique with an electric knife as it handles quite differently to a regular knife. The last thing you want to do is ruin a perfectly good crappie because you don’t know how to fillet using an electric knife – check below for how to perfectly filet your crappie using an electric knife!
How to Fillet Crappie with an Electric Knife
Step 1
Remember to wash the outside of all your crappie before cutting!
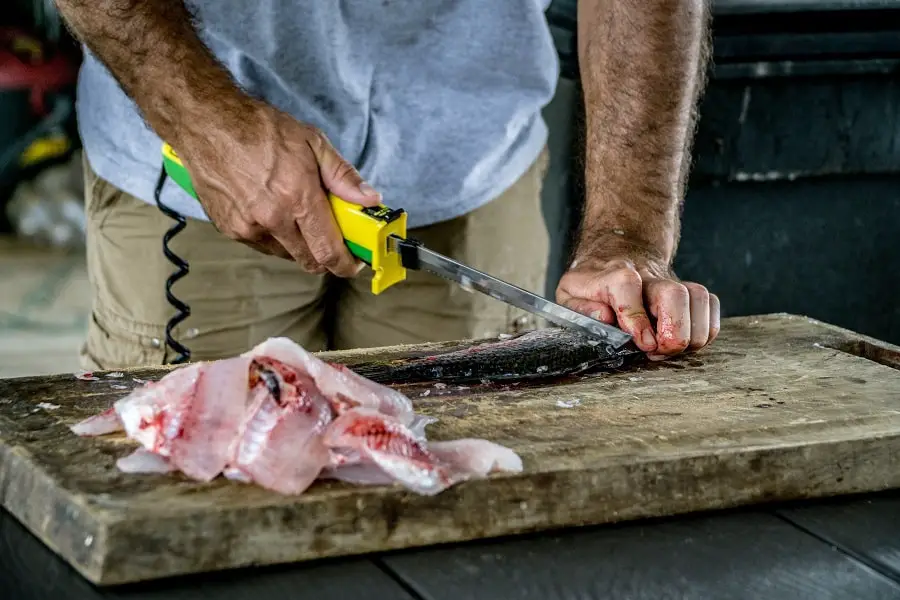
Lay the crappie flat on a chopping board. It’s a good idea to sit the board at the edge of a countertop so that the knife handle has some room to move and isn’t hitting the top of the board – this is important when cutting downwards into the fish!
Step 2
Start by placing the knife just behind the head – you’re going to cut downwards into the spine from this position. Before you start cutting, slightly angle the knife towards the base of the head rather than directly downwards, as this helps keep wasted meat to a minimum.
Once in position, power the knife and cut down towards the spine, stopping right after you pass the pelvic fin and contact the spine.
Step 3
Once you reach the spin adjust the angle of the blade by 90-degrees so it is now facing the tail. Make sure to keep the power on as you make this movement – you want to cut from the top to the base and adjust the angle in a single cutting motion.
Step 4
Continue cutting towards the tail, keeping the blade facing a slight downward angle – the blade should be skimming the top of the crappie’s spine. Cut all the way through to the end of the tail
Try to keep the knife handle parallel with the cutting board as this helps ensure you don’t lose any meat, as cutting with the handle above or below the board may result in lost meat. This is why you want the chopping board at the edge of the counter to help manoeuvre the knife.
Step 5
Flip the crappie over and start all over on the other side using the same steps as above!
Step 6
Place the fillet skin side down and hold at the very end. Carefully cut the knife through the skin to remove it, working the blade from one side to the other. Try following the natural curve of the ribs to help remove the skin and remove on each fillet.
You may feel more comfortable using a regular knife for this step as the speed and power of an electric knife may be too much and cut right into the filet.
Step 7
Have a feel for any bones left over, sometimes they’re found around the top or bottom of the fillet, while there may be a few spine bones towards the center. Thee are easy to remove using a regular knife with a sharp blade.
Rinse off the fillets and dry them off before storing as preferred.